
FreeIAT: Getting Started
Getting started couldn’t be easier. Just follow the steps below to install and run the example IAT. Once you’ve figured things out, build your own IAT.
Step 1: Download the Installer Program from GitHub.
Step 2: Double-click the installation program on your computer and follow the instructions.
Step 3: Run the Example IAT that is automatically installed and pre-loaded (see the Example page for details).
Step 4: Once you get a feel for things, create your own IAT using the built-in IAT SetUp program (see below).
That’s it. It’s that easy to create and administer your own IAT program.
Configuring Your Own IAT
Now that you have an idea of how the IAT works, build your own with the FreeIAT’s built-in configuration program.
To get started with the configuration program, follow the instructions below.
Before you begin, it’s a good idea to save your current Config.txt file (if you have one) or to make sure the example IAT’s Config.txt file is retained.
| Step 1: | Start the FreeIAT program. |
Examples
|
| Step 2: | At the welcome screen, click on ‘SetUp’. | 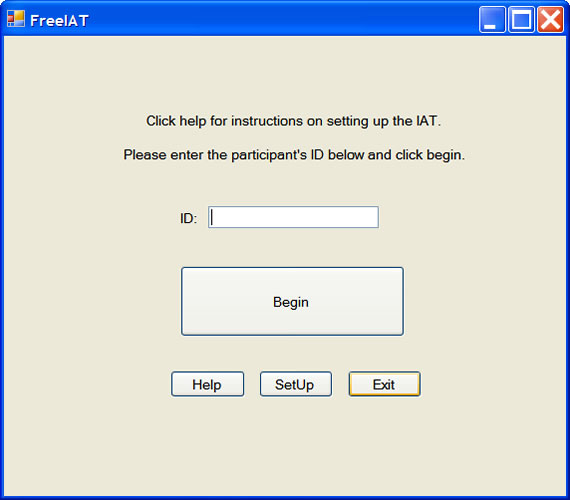 |
| Step 3: | Give your IAT a title and specify whether you will use images or not. |  |
| Step 4: | Label and specify the word stimuli for your first stimuli set (example: positive and negative words) |  |
| Step 5: | Label and specify the second stimuli set. This may be other word groupings or images. (example: presidential candidates) | 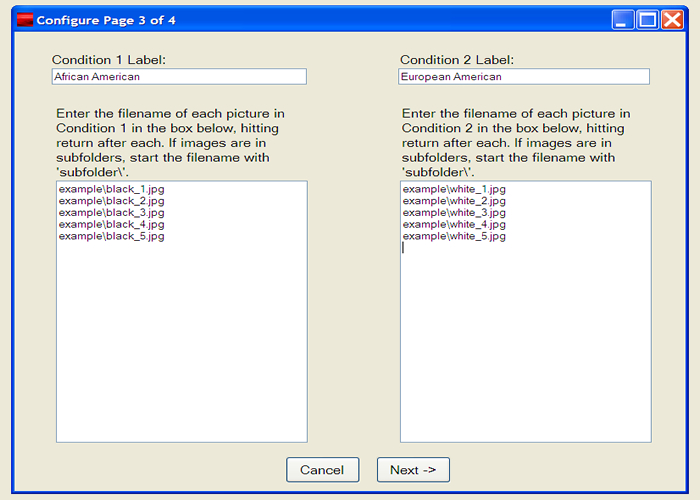 |
| Step 6: | Specify how many trials to administer per stage and how you want the output to appear. | 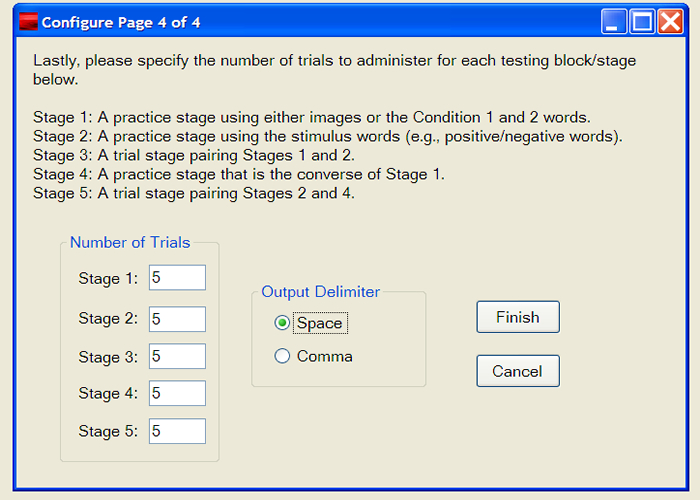 |
That’s all you need to set up your own IAT.